
Ditch the heart rate zones and start tracking your workouts in watts.
Once exclusive to cyclists, runners can now take advantage of all the insights that stem from tracking ‘power’—and certain Garmin watch owners can enjoy the feature directly from their wrists.
However, while running power is essentially another measure of work rate or effort, it can be challenging to understand. Without a standardized definition of what should be included in running power measurements, the situation becomes even more complex.
SQUIRREL_PLAYLIST_10207701
To help you gain a better understanding of the insight, we will guide you on everything you need to know about Garmin’s flavor of running power, including which watches can process it directly from the wrist, and how you can use it to enhance your training.
How does Garmin measure running power?

Garmin’s specific measurement considers your pace and vertical oscillation, along with the grade and wind conditions, to calculate in real time the amount of power you’re applying to the ground.
In total, Garmin lists five things used in its model to calculate your effort:
- Kinetic Power: The power required to change pace, measured using speed data
- Potential Power: The power required to run up or downhill, measured using elevation data
- Vertical Oscillation Power: The power required for vertical oscillation on each step
- Horizontal Oscillation Power: The power required for horizontal oscillation on each step
- Wind/Air Power: The power required to overcome air resistance
However, it’s also important to consider the unique aspects of running power, which will be deeply personal to your individual running efficiency and weight.
Garmin Running Power vs. the competition

As we mentioned up top, there’s no actual agreement on what should be included in a running power measurement.
There is no right or wrong answer, as scientists disagree over what should be included, primarily due to a phenomenon known as elastic recoil.
We won’t delve into the details of this here, but, essentially, Garmin does include this output in its measurement, while manufacturers like Apple and Stryd don’t appear to.
As with anything relating to running power, the formulas involved in calculating any version of it are mind-boggling – but all you need to know is that it’s unlikely your Garmin Running Power info can be compared to another manufacturer’s measurement.
Which Garmin watches have Running Power?

Once restricted to those with a Garmin Running Dynamics Pod, the running power feature is now available on multiple Garmin watches natively, listed below:
- Forerunner 165/255/265/570/955/965/970
- Fenix 7 & 7 Pro series
- Fenix 8 series
- Epix (Gen 2) & Epix Pro (Gen 2)
- Enduro 2/3
- Tactix 8 series
- Vivoactive 6
If you don’t have one of these watches, picking up the Running Dynamics Pod (or a compatible Garmin chest strap) and downloading the Running Power app from the Garmin Connect IQ Store is the best alternative.
How to view Running Power during workouts

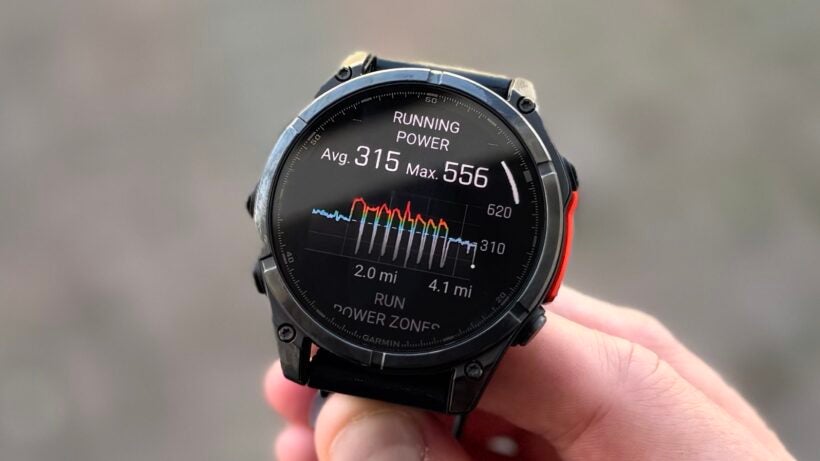
To view your running power output during workouts, you need to add it as a data screen on your Garmin watch. Still, if you have a compatible device, you can view two running power charts immediately after finishing a workout: one that displays your running power zones and another that charts your power across the workout, providing an average and maximum figure.
Once synced over to Garmin Connect, there’s even more: a graph of your Power (W), Split Average Power (W), Power (W/kg), and Split Average Power (W/kg).
In real-time, though, you can view all sorts. There’s the potential to view your Power, Power Gauge, Power Chart, 30-second Power, Average Power, Lap Power, Last Lap Power, Maximum Power, and Power Zone.
Follow the instructions below to add Garmin Running Power insights:
- Press the ‘Start/Stop’ button to bring up your activity profiles, then press again to select ‘Run’.
- Next, push the ‘Up/Menu’ button to tinker with the settings, scrolling down to ‘Data Screens’.
- From the ‘Data Screens’ list, scroll down to the bottom and select ‘Add New’.
- Select ‘Custom Data’, followed by the layout you wish to choose for your data screen.
- Choose the metrics you wish to add by scrolling down to ‘Running Power Fields’ and picking from the list.
- Once complete, use the ‘Up/Menu’ and ‘Down’ buttons to place the data field in the list of data screens.


